 Skip to content
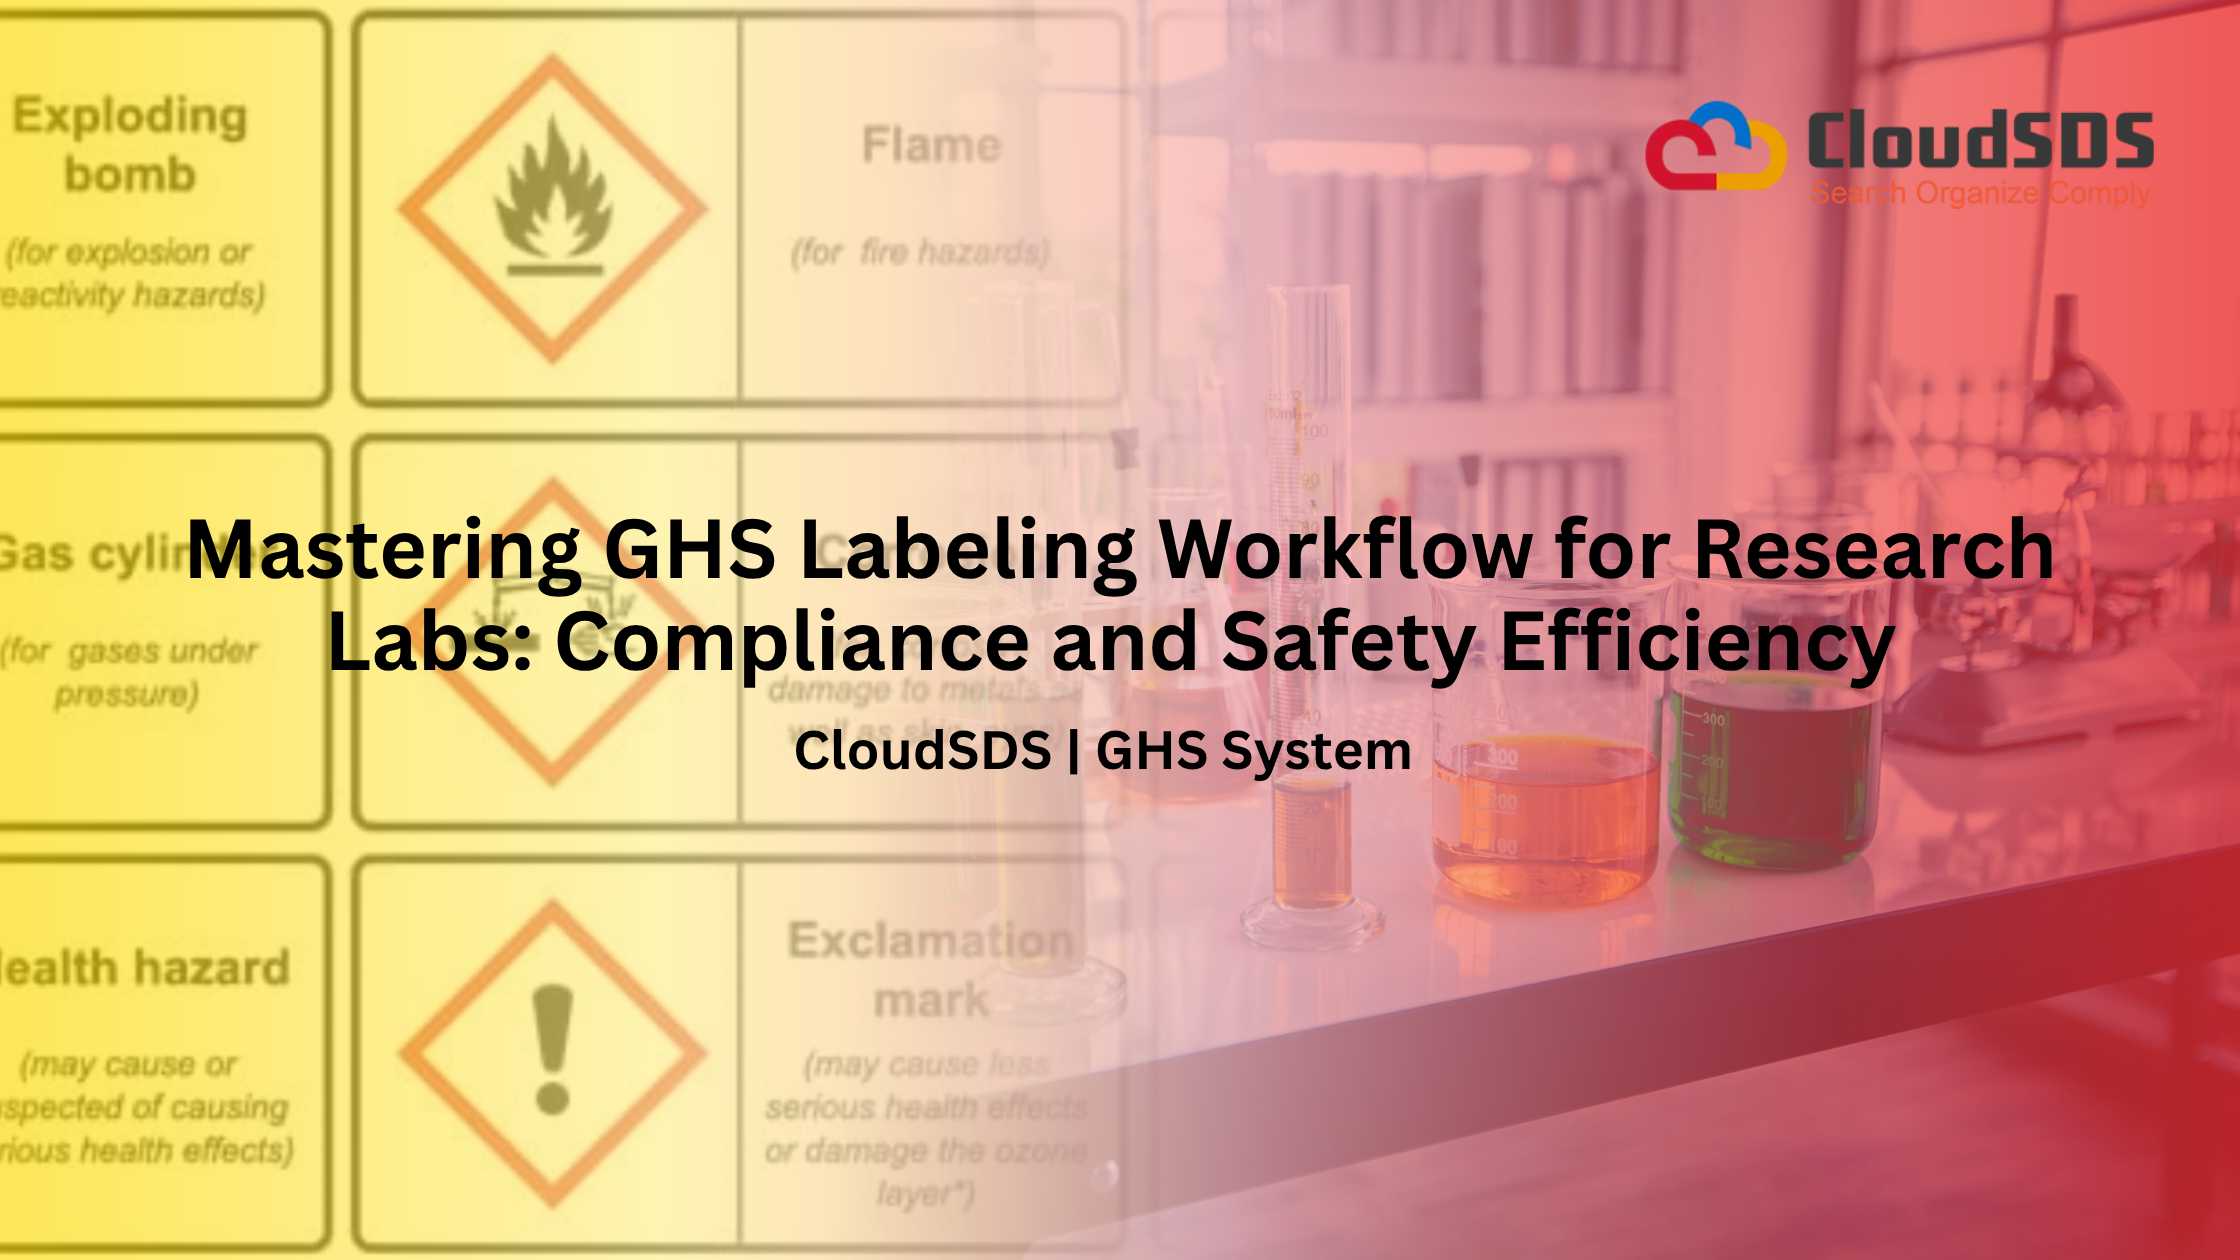
In a busy research lab, one wrong move with a chemical can lead to big trouble. Think about spills, injuries, or even shutdowns that halt your work. SDS management software simplifies the process of proper labeling, ensures everyone's safety, and maintains the progress of your projects.
GHS stands for Globally Harmonized System, and it sets a worldwide standard for sharing info on chemical hazards. Labs in R&D, schools, or drug companies must follow it to avoid fines, accidents, or delays.
This article walks you through a clear step-by-step GHS (Globally Harmonized System) labeling workflow. You'll learn how to handle labels right, stay compliant, and boost safety. By the end, you'll have tools to make your lab run smoother, including templates for labeling, checklists for compliance, and best practices for safety management.
GHS Labeling Workflow for Research Labs
Section 1: Understanding the Core Components of GHS Labeling
GHS labels tell you quick facts about risks from chemicals. They help workers spot dangers fast. In research labs, these labels cut down on mix-ups and boost safe handling by providing essential information about chemical hazards, thereby ensuring that workers can quickly identify and respond to potential risks.
You need to know the basics before starting any workflow. Such knowledge, along with robust SDS management software, builds a strong base for compliance with safety regulations and helps ensure that all employees are aware of the necessary procedures for handling hazardous materials. Let's break it down.
1. Six Essential Label Elements Defined
Every GHS label must include key parts. First, the product identifier names the chemical or mix. It could be a common name or a code from the Safety Data Sheet (SDS), which provides detailed information about the chemical hazards and safety precautions. Next comes the signal word. "Danger" means high risk. "Warning" signals a lower one. It grabs attention right away. Hazard statements explain the threat. They say things like "causes skin burns" or "harmful if swallowed." These come straight from hazard classes.
Precautionary statements give steps to stay safe. They cover storage, first aid, and disposal. Keep them simple so everyone gets it. Supplier identification lists who made or sold the chemical; this section includes the following:
- Names
- Addresses
- Phone numbers
This method helps trace issues back. Pictograms are icons in a red diamond. They show hazards at a glance. We'll cover them more next. These elements work together for clear communication. Miss one, and your label fails.
2. Pictograms: Visualizing Chemical Hazards Accurately
GHS uses nine pictograms to show dangers. Each one matches a hazard type from the SDS. Pick the right ones based on the chemical's risks. The flame pictogram means it can catch fire or explode. Use it for flammables. The skull and crossbones warns of poisons that kill if swallowed or breathed.
The corrosive pictogram shows it eats through skin or metal. It's for acids and bases. The exclamation mark covers irritants or sensitizers. Gas cylinders signal compressed gases. The environmental pictogram protects aquatic life. Health hazards include carcinogens or toxins. A flame over a circle means oxidizers. Exploding bombs are for unstable blasts.
Always check the SDS management software for exact matches. Make sure pictograms are big and clear. Regulations say they need to stand out, even from a distance. In labs, size them at least 1 inch square for visibility. Wrong pictograms can confuse staff. Double-check to avoid errors.
3. Distinguishing Primary vs. Secondary Container Labeling Requirements
Primary containers come from suppliers. They hold the original chemical. These labels must be fully GHS (Globally Harmonized System) style, with all six elements that provide important safety information about the chemicals, including
- Hazard pictograms
- Signal words
- Hazard statements
- Precautionary statements
- Product identifiers
- Supplier information
Secondary containers are what you use in the lab. Think beakers or bottles for working solutions. These need labels too, but simpler ones. For secondary labels, include product name, hazard info, and pictograms. You can skip supplier details if they're filed in your SDS management system. Always be sure to date it with the time you prepare the solution.
This setup saves time but keeps safety high. Bulk storage might need full labels. Working aliquots can be basic if risks match the primary. Know your lab's flow. Primary labels guide secondary ones. This procedure prevents gaps in your GHS (Globally Harmonized System) labeling workflow.
Section 2: Establishing the GHS Label Generation Workflow
Creating labels should be straightforward, not a hassle. A good workflow uses tools to speed things up. It cuts errors and saves hours. Start with solid systems. Then build templates. Finally, print right. This chain makes compliance easy.
1. Integrating SDS Management with Label Generation Software
SDS sheets are your guide to chemical risks. Keep them in one spot, digital or paper. Digital works best for quick access. Good software links SDS to label makers. It pulls data like hazard codes and pictograms. This eliminates the need for manual typing, which can lead to errors.
For example, enter the chemical CAS number, which is the unique numerical identifier assigned to a specific chemical substance. The tool auto-fills statements. This keeps your GHS (Globally Harmonized System) labeling workflow accurately.
Tip: Use one main SDS (Safety Data Sheet) source. It stops version mix-ups. Labs with 100+ chemicals see big-time savings this way. Choose software that updates according to the new GHS (Globally Harmonized System) rules, which standardize the classification and labeling of chemicals. It fits right into daily tasks.
2. Developing Standardized Internal Label Templates
Templates make labels uniform. Design ones for common items like solvents or buffers. Add spots for name, date, and hazards. For custom mixes, have a template that notes components. This format helps if you blend reagents. In the US, add OSHA (Occupational Safety and Health Administration) extras like NFPA (National Fire Protection Association) ratings if needed. Check local rules for your area. Share templates across teams. It builds trust in the system. Update them yearly for changes. This step standardizes your GHS compliance in research labs. Everyone labels the same way.
3. Best Practices for Label Printing and Material Selection
- Print labels that last.
- Use chemical-proof materials like vinyl or polyester. They resist solvents and cold storage.
- Avoid paper; it peels or fades. Test materials in your lab conditions first.
- Printers need high resolution, at least 300 DPI (dots per inch), which is a measure of the printer's ability to produce clear and detailed images. This makes pictograms sharp. Calibrate often for clear text.
- Label small vials with wrap-arounds. For big drums, use bigger sheets.
- Store extras in dry spots. This keeps your workflow running without stopping.
Section 3: Implementing GHS Labeling into Inventory and Procurement
Labels start before chemicals arrive. Tie them to buying and tracking. This technique stops problems early. A smart system covers the whole chain. From order to shelf life. It makes safety second nature.
1. Vetting New Chemical Acquisitions for Pre-Labeling Compliance
Before you buy, check the supplier. Ask for a GHS-ready SDS. Look for full labels on samples. Build a procurement list. It includes the following: Is the label complete? Does SDS match GHS? When it arrives, inspect it right away. If the primary label is torn or gone, send it back.
Tip: Don't accept bad shipments. This sets a firm rule. It protects your lab from fines, which can hit $14,000 per OSHA violation. Train buyers on this. It integrates GHS into your workflow from day one.
2. Chemical Inventory System Integration and Location Tracking
Inventory software tracks every bottle. Link it to your label tool. Scan a barcode to pull up SDS and print labels. Note where each chemical sits. Fume hood A or shelf B. Add who handles it. This setup aids audits. You find items fast during emergencies. For big labs, cloud-based systems work well. They let teams update in real time. Strong tracking boosts your GHS labeling workflow efficiency.
3. Managing Expiration Dates and Re-labeling Protocols
Labels have a life, too. Check dates on arrival and add your own for mixes, which are often 6-12 months. If a label fades, replace it fast. Use protocols for old stock, and inspect and re-label if used. For degraded chemicals, test and update hazards. Reclassify if needed. Set calendar alerts for checks. Monthly scans keep things current. This system handles the full cycle. It prevents unsafe use of old materials.
Section 4: Training, Auditing, and Maintaining Continuous Compliance
Compliance doesn't end with labels. Train staff and check often. This approach keeps risks low. Build habits through education. Audits catch slips. Transition old stock smoothly.
1. Essential GHS Training Modules for Lab Personnel
Train everyone on GHS basics. Cover signal words first. What does "Danger" tell you to do?
- Teach pictogram meanings with hands-on examples. Show real labels in sessions.
- Explain how to label new solutions. Step-by-step: read SDS, pick elements, apply.
- OSHA says train new hires right away. Refresh yearly or after changes.
- Use quizzes to test knowledge. This sticks better than lectures.
- Good training makes GHS labeling workflow part of the daily routine.
2. Conducting Regular Labeling Audits and Spot Checks
Audits keep standards high. Do them quarterly. Focus on risky spots like hoods and cabinets.
- Use a checklist: Are all elements there? Pictograms clear? Dates current?
- Check secondary containers most. They're easy to overlook.
- Log findings. Fix issues in 30 days. Track progress over time.
- Involve different teams. It builds ownership.
- Weekly spot checks catch small problems early.
3. Handling Legacy Chemicals and Non-GHS Inventory Transition
Old chemicals might have NFPA diamonds, not GHS. When you open them, add GHS labels. Phase out slowly and use grace periods, such as those allowed by OSHA's 2015 updates. For active use, re-label with SDS (Safety Data Sheet) data, which provides information on the properties of the chemical substances. Dispose of unused old stock safely. Document the switch as it shows compliance efforts. This technique clears old clutter. It fits new GHS rules without chaos.
Conclusion: Solidifying Safety Through Systematic GHS Labeling
A solid GHS labeling workflow turns safety into a habit. It links software, training, and checks. Your lab stays compliant and efficient.
It eliminates the need for guesswork regarding potential hazards. Teams work faster with clear info. Accidents drop, projects flow.
Key takeaways:
- Set up SDS-linked software for error-free labels.
- Train staff yearly on GHS elements and procedures.
- Audit labels monthly to spot and fix issues quickly.
Start today. Review your current setup. Consider making changes now to ensure a safer tomorrow. Your team will thank you.
Leave A Comment