
- Quick answer:
- Key facts
- Why does drum transfer need its own JSA?
- The job: scope and assumptions for this example
- What does the SDS tell us before we start?
- Equipment and setup before the job
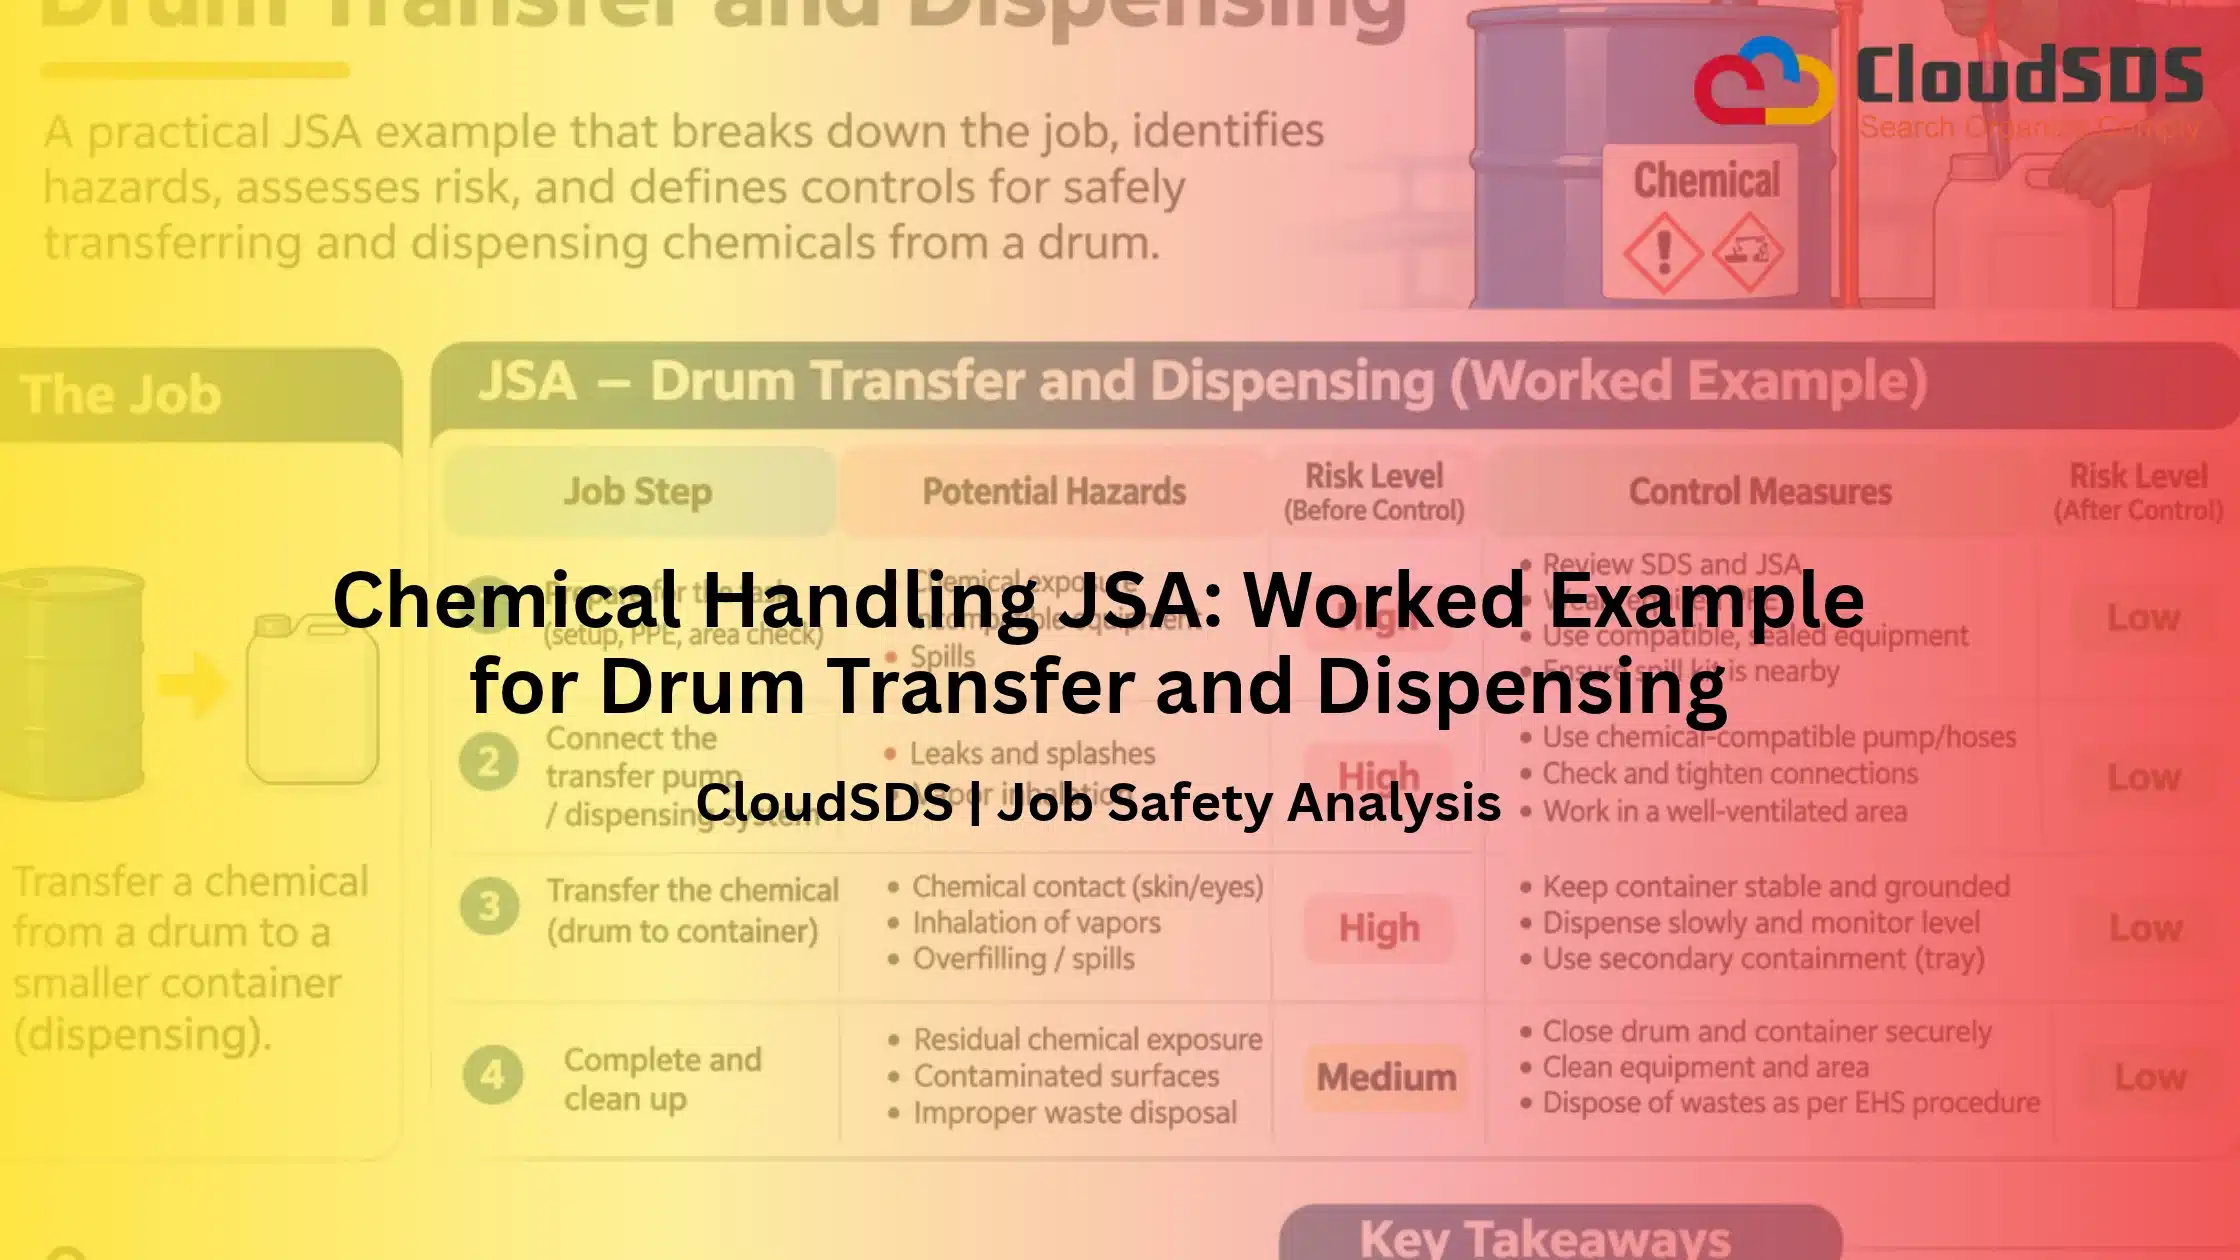
- Chemical handling JSA: the worked example
- What if something goes wrong?
- How does the JSA change for other chemical types?
- Common mistakes in drum transfer JSAs
- How do you keep this JSA current?
- Download the drum transfer JSA template.
- Frequently asked questions
- References
Last Updated on November 3, 2026
Quick answer:
A drum-transfer JSA breaks the job into about 10 steps, from SDS verification to empty-drum handling. Typical hazards include manual-handling strains, static ignition, splash and vapor exposure, spills, and unlabeled secondary containers. Controls include drum-handling equipment, bonding and grounding, approved pumps or self-closing faucets, spill containment, SDS-based PPE, and labeling under 29 CFR 1910.1200(f). (54 words)
Key facts
- Bonding: Class I flammable liquids (flash point below 100°F) must not be dispensed into containers unless the nozzle and container are electrically interconnected. Verify the exact paragraph in 29 CFR 1910.106(e)(6) before publishing.
- Cabinet limit: A storage cabinet may hold no more than 60 gal of Class I and/or Class II liquids, or 120 gal of Class III (1910.106(d)(3)).
- Labeling exemption: Portable containers need no label if the person who filled them uses them immediately, and OSHA generally reads that as within the same shift (1910.1200(f)(8)).
- Drum weight: A full 55-gal drum often weighs 350 to 600+ lb, depending on the liquid. Calculate as 55 gal × 8.34 lb/gal × relative density (SDS Section 9), plus about 35 to 50 lb for a steel drum.
Why does drum transfer need its own JSA?
Moving liquid from a drum into a smaller container looks like the simplest job in a maintenance shop. That is exactly the problem. A drum transfer packs several unrelated hazards into ten or fifteen minutes of work: a heavy, awkward load, a flammable or toxic liquid, a static charge building as the liquid flows, and a person standing close enough to be splashed. A generic "chemical handling" analysis tends to wave at these. A job-specific JSA names them and assigns controls to each.
Where do drum transfer incidents happen: static ignition, splashes, crushed hands and feet, back strains, or spills?
The incident patterns are consistent across industries:
- Static ignition
Flowing a low-conductivity liquid generates charge. If the drum and receiving container are not bonded, a spark can jump at the bung opening, exactly where the flammable vapor is densest.
- Splashes
Opening a bung on a drum that has warmed in the sun can release pressure and spray liquid or vapor toward the face.
- Crushed hands and feet
Drums roll, tip off dollies, and pin fingers against racks or walls.
- Back and shoulder strains
Tilting, rolling, or lifting a drum by hand is a recurring source of musculoskeletal injury.
- Spills
Overfilling a can or knocking over an unsecured funnel puts product on the floor and sometimes into drains.
Why "routine" makes it risky: done often, rarely supervised, done in shared areas
Routine work breeds shortcuts. The person who has transferred solvent for years stops checking the bond clamp because nothing has ever happened. The task is also rarely supervised, so nobody notices the clamp is on a painted surface and not bare metal. And it is often done in shared spaces, such as a corner of a maintenance bay, where a welder, a forklift, or a charging station may be a few feet away. A JSA interrupts the autopilot by forcing the team to write the steps down and look at each one.
Does OSHA require a JSA for chemical transfer?
Short answer: OSHA does not use the term "JSA" in a standard that mandates one for every chemical transfer. What it does require is the substance of one. Hazard communication (1910.1200) requires employers to train workers on the hazards of the chemicals they handle and keep SDSs accessible. The flammable liquids standard (1910.106) sets bonding and storage rules. PPE rules (Subpart I) require a hazard assessment. A written JSA is the practical way to show all of that was applied to one specific task. For the full regulatory picture, see the OSHA section of the JSA pillar guide.
The job: scope and assumptions for this example
Every JSA is only as good as its boundaries. This example is deliberately narrow so the table can be specific.
Chemical, container, quantity, and location
- Chemical: a Category 2 flammable liquid solvent (flash point below 73.4°F), used here as a stand-in. Swap in your own product and its SDS data.
- Container: one 55-gal steel drum, upright, with 2-inch and ¾-inch bungs.
- Quantity: dispensed in batches into 5-gal approved safety cans.
- Location: a ventilated maintenance area with a dedicated dispensing station, spill containment, eyewash, and no hot work within the posted exclusion distance.
Crew, competencies, and frequency
One trained operator performs the transfer. A second person is nearby for the drum move. The operator has completed HazCom training, bonding and grounding instruction, and spill-kit use. The task occurs about three times a week.
Out of scope: bulk tank transfer, totes/IBCs, and HAZWOPER-level spills
- Bulk tank transfer: It needs its own JSA covering loading rack or truck procedures.
- Totes/IBCs: different weights, valves, and bonding arrangements.
- HAZWOPER-level spills: handled by the emergency response plan, not by this job analysis.
What does the SDS tell us before we start?
The SDS is the source document for half the JSA. Pull facts from it before drafting any step. For the method of reading an SDS for a JSA, see the “SDS in a JSA” post instead of repeating it here.
SDS fact pulls, as a table
| SDS Section | Fact to Pull | JSA Field It Feeds |
| Section 2 | Signal word and hazard statements | Hazard column; training points; label wording |
| Section 7 | Handling and storage, including bonding and grounding | Controls for Steps 3-4 and Step 8 |
| Section 8 | Exposure limits, glove material, eye protection | PPE list; ventilation decision |
| Section 9 | Flash point, vapor density, relative density | Bonding trigger; vapor behavior; drum weight calculation |
| Section 10 | Incompatible materials | Storage segregation in Step 8 |
| Sections 4-6 | First aid, extinguishing media, spill response | Emergency rows and kit contents |
A quick weight check:
| Step | Calculation | Example (relative density 0.8) |
| Water-equivalent weight | 55 gal × 8.34 lb/gal | ≈ 459 lb |
| Product weight | 459 lb × relative density | ≈ 367 lb |
| Empty steel drum | Typical range | ≈ 35-50 lb |
| Total | Product + drum | ≈ 400-420 lb |
Revision date and product match check
Confirm the SDS revision date and that the product name, supplier, and hazard classification match the drum in front of you. Suppliers reformulate. A SDS filed three years ago may describe a different flash point than the label on today's delivery.
Equipment and setup before the job
Use this as a pre-job checklist. Every unchecked item is a reason to stop.
1. Drum handling: drum truck or dolly, drum lifter, chocks
Use a drum truck or dolly rated for the loaded weight, a drum lifter if the drum goes onto a rack or stand, and chocks or cradles to hold it still once in position. Never roll a full drum by hand over an uneven floor.
2. Dispensing: an approved hand or rated drum pump, or a self-closing faucet with a pressure/vacuum vent
Use an approved hand pump, a drum pump rated for the liquid, or a self-closing faucet fitted with a pressure/vacuum vent. Electric pumps used in classified locations must be rated for the area (1910.307). Do not pressurize the drum with compressed air.
3. Bonding and grounding: clamps, cables, a verified ground point, and a continuity check
Bonding equalizes charge between the drum and the receiving container. Grounding connects that assembly to earth. You need clamps with teeth that bite through paint or rust, intact cables, a known-good ground point, and a continuity tester or ohmmeter if your procedure calls for it. Verify before opening the bung, not after.
4. Receiving container: an approved safety can and why plastic containers still need bonding
Use an approved safety can for flammable liquids. Plastic containers are the trap: plastic is an insulator, so the container itself cannot be bonded. Static can still accumulate on the liquid and on the funnel or nozzle. Where a plastic container is permitted at all, bond the metal nozzle or funnel to the drum, and avoid plastic for Category 1 flammables.
5. Spill containment and kit, eyewash or drench station (1910.151(c)), fire extinguisher
Place the drum in containment sized for the volume. Keep a spill kit matched to the chemical, a plumbed or self-contained eyewash within reach where corrosive or injurious materials are present (1910.151(c)), and a suitable fire extinguisher with extinguishing media confirmed against SDS Section 5.
6. PPE taken from SDS Section 8
Name the exact items: for example, nitrile or other glove material per the SDS, chemical splash goggles, flame-resistant clothing where specified, and safety footwear. Add a respirator only if the exposure assessment and 1910.134 program call for it.
Chemical handling JSA: the worked example
Risk ratings use a 5×5 matrix: likelihood (L) × severity (S), each scored 1–5. Low: 1–4; Medium: 5–12; High: 15–25. Replace it with the matrix from the pillar guide so every JSA in the cluster scores the same way. Controls are tagged and listed in hierarchy order: [E] elimination, [S] substitution, [Eng] engineering, [A] administrative, and [PPE] personal protective equipment.
| Step | Hazard | SDS or CFR Source | Initial Risk | Controls (Hierarchy-Tagged) | Residual Risk | Responsible |
| 1. Pre-job checks | Wrong product; ignition sources nearby; no permit | SDS Sec. 2, 9; 1910.106; 1910.1200(h) | High (15) | [S] Use less hazardous product if feasible
[A] Match label to SDS, clear ignition sources, check permits [PPE] Don PPE |
Low (3) | Operator |
| 2. Move drum to station | Strain, crush, tip-over; heavy load (calculate from SDS Sec. 9) | SDS Sec. 9; OSH Act General Duty Clause | High (16) | [E] Pre-stage drum at station
[Eng] Drum truck or lifter [A] Two-person move, clear path [PPE] Safety shoes, gloves |
Medium (6) | Operator + helper |
| 3. Position, chock, place on containment | Drum rolls; spill reaches floor | SDS Sec. 6; 1910.22 | Medium (12) | [Eng] Containment pallet, chocks
[A] Inspect drum for dents and leaks |
Low (3) | Operator |
| 4. Bond and ground | Static discharge ignites vapor | 1910.106(e)(6)*; NFPA 77 | High (20) | [Eng] Bond drum to container, ground assembly
[A] Continuity check before opening |
Low (4) | Operator |
| 5. Open bung, install pump/faucet and vent | Pressure release, vapor, splash | SDS Sec. 7, 8 | High (15) | [Eng] Vent bung slowly, non-sparking tools
[A] Face away from bung [PPE] Goggles, gloves, FR clothing |
Medium (6) | Operator |
| 6. Dispense | Overfill, static, vapor exposure | SDS Sec. 7, 8; 1910.106(e) | High (16) | [Eng] Approved pump, self-closing faucet
[A] Fill to 90% max, no free-fall pour [PPE] Respirator if indicated |
Medium (6) | Operator |
| 7. Close and label container | Unlabeled secondary container | 1910.1200(f)(6), (f)(8) | Medium (9) | [A] Label with product ID and hazards unless the (f)(8) exemption applies
[Eng] Pre-printed labels at station |
Low (2) | Operator |
| 8. Disconnect, close drum, store | Drip, vapor, incompatible storage, cabinet overload | SDS Sec. 7, 10; 1910.106(d)(3) | Medium (12) | [Eng] Self-closing cabinet
[A] Segregate per Sec. 10; stay within cabinet limit |
Low (4) | Operator |
| 9. Clean up, remove PPE, wash hands | Residue contact, contaminated rags | SDS Sec. 8, 13; 1910.141 | Medium (8) | [A] Wipe drips, bin oily rags in approved can, wash hands
[PPE] Doff gloves correctly |
Low (2) | Operator |
| 10. Manage empty or near-empty drums | Residual vapor; mislabeled “empty” drum | 40 CFR 261.7; 1910.106 | Medium (10) | [A] Apply empty test (1 inch or 3% by weight); keep labeled and capped
[Eng] Designated empty-drum area |
Low (3) | Operator + |
Step 1. Pre-job checks: verify product against SDS, area check, ignition sources, permits
The label on the drum, the SDS on file, and the work order should all name the same product. Walk the area for open flames, hot surfaces, running vehicles, grinding or welding, and unrated electrical equipment. If any hot work is scheduled nearby, confirm that a permit and separation are in place, or postpone the transfer.
Step 2. Move the drum to the dispensing station (drum weight, ergonomics, pinch points).
Weight is the first number to calculate. Use SDS Section 9 relative density and add the drum tare. Use a drum truck, keep the path free of cords and thresholds, and keep hands clear of rim and chime pinch points. Two people should handle any move that involves a ramp or a turn.
Step 3. Position, check, and place the drum on spill containment.
Set the drum on a containment pallet or berm with capacity for the largest drum, then chock or cradle it. Look for dents, bulges, weeping seams, and corroded chimes. A damaged drum is a stop-work condition covered later in this post.
Step 4. Bond and ground the drum and receiving container, and check continuity.
Connect the bonding cable from drum to receiving container first, then connect the grounding conductor from the drum to the verified ground point. Clamp to bare metal. Test continuity if your procedure requires it. Keep the bond in place until the pump is removed and the containers are closed. This step is the legal and physical heart of the job because 1910.106(e)(6) covers exactly this scenario.
Step 5. Open the bung and install the pump or faucet and vent (pressure buildup, vapor release, splash).
Loosen the bung slowly with a non-sparking bung wrench, standing to the side and keeping your face away from the opening. Let any pressure bleed off. Fit the pump or the self-closing faucet with its vent. Replace the vent bung rather than leaving the drum open to the room.
Step 6. Dispense into the receiving container (overfill, static, vapor exposure).
Keep the nozzle in contact with the container opening. Fill slowly, watch the level, and stop at no more than the safe fill line. Do not pour free-fall from height, which increases static charge and splash. If SDS Section 8 or air monitoring shows exposure near the limit, move to local exhaust or add respiratory protection under 1910.134.
Step 7. Close and label the secondary container (f)(6) labeling or the (f)(8) exemption).
A portable container needs a workplace label that carries the product identifier and general hazard information under (f)(6). The (f)(8) exemption applies only to a container used for immediate use by the same employee who made the transfer, so a can that sits on a shelf or changes hands needs a label. When in doubt, label it.
Step 8. Disconnect, close the drum, and return or store it (cabinet limits, segregation by Section 10).
Disconnect the pump, seat the bungs, and then remove the bond and ground in reverse order. Return the drum to its storage location. Count what is already in the flammable cabinet before adding to it, because the limit is 60 gal of Category 1–3 liquids per cabinet. Keep incompatible products apart according to Section 10.
Step 9. Clean up, remove PPE, wash hands.
Wipe drips immediately, place contaminated rags in an approved oily-waste can, and bag used absorbent for disposal. Remove gloves without touching the outer surface, then wash hands. Do not take contaminated clothing into break areas.
Step 10. Manage empty or near-empty drums.
A container counts as RCRA "empty" if no more than 1 inch of residue or 3% by weight remains (40 CFR 261.7). Until then, treat the drum as a hazardous container: keep it closed, labeled, and away from ignition sources, since residual vapor can still ignite. Note that RCRA "empty" is a waste-management test and does not by itself make the drum vapor-free for hot work or cutting.
What if something goes wrong?
A JSA that stops at normal steps leaves the crew improvising in a crisis. Add rows for the foreseeable upsets.
Small spill vs. a release that needs emergency response (where HAZWOPER starts)
A small spill is one the trained operator can safely contain and clean up with the kit on hand, with no immediate threat to health or fire. A release that spreads beyond the containment, produces a vapor cloud, or requires anyone to leave the area is an emergency under the site plan. HAZWOPER (1910.120) obligations start when the response goes beyond the capability of the people on the job.
Splash to the eyes or skin (SDS Section 4, eyewash).
Go straight to the eyewash and flush for the time stated in SDS Section 4, typically at least 15 minutes, holding the eyelids open. Remove contaminated clothing. Carry a copy of the SDS to medical care.
Fire or flash fire (SDS Section 5)
Stop the transfer if it is safe to do so, shut the drum if you can reach it without risk, and evacuate. Use only the extinguishing media listed in SDS Section 5. Raise the alarm first and fight the fire only when it is incipient, and you are trained.
Bulging, leaking, or damaged drums: stop-work criteria
Stop work, and do not open the drum if you see:
- a bulged head or sidewall,
- active leaking or heavy weeping at a seam,
- deep dents at the chime or rim,
- heat, hissing, or unusual odor from a sealed drum.
Isolate the area, keep ignition sources away, and call the supervisor and EHS. Do not try to vent a bulging drum yourself.
How does the JSA change for other chemical types?
The ten-step skeleton holds. Specific rows change with the hazard class.
| Hazard class | Rows that change |
| Corrosives | Splash protection increases; bonding drops out, eyewash priority rises. See the pillar’s NaOH example. |
| Toxic or inhalation hazards | Ventilation, air monitoring, and respirators (1910.134) become primary controls. |
| Oxidizers | Segregation from fuels, compatible pump and gasket materials, no contact with organics or rags. |
| Category 3–4 combustibles | The bonding threshold changes at 100°F, so check flash point against operating temperature. |
| Oils | SPCC consideration: 55-gal+ containers count, and the threshold is more than 1,320 gal aggregate for aboveground storage.
|
Common mistakes in drum transfer JSAs
-
Bonding the drum but not the receiving container
Both need to be in the circuit.
-
Using air pressure or an unrated electric pump
Pressurizing a drum risks rupture, and a non-rated motor is an ignition source.
-
Writing "PPE as per SDS" instead of naming it
Name the glove material, eye protection, and clothing.
-
Using unlabeled squeeze bottles across shifts
The (f)(8) exemption does not stretch that far.
-
Leaving drum handling out
Moving the drum is often the most injurious step.
-
Leaving out the empty-drum step
Residue and vapor remain after the pour.
-
Having no spill response row
If the JSA does not say what to do, the crew will improvise.
How do you keep this JSA current?
Review triggers: a new supplier or SDS revision, a new pump, a new location, an incident or near miss
Tie review to events rather than the calendar alone. Any of these should reopen the document: a new supplier or reformulated product, an SDS revision, a different pump or faucet, a move to another room or building, or any incident or near miss. Add an annual review as the backstop.
HazCom 2024 reclassification of SDSs (re-verify the dates before publishing)
OSHA's 2024 update to the Hazard Communication Standard aligned it with a newer GHS revision and changed some classifications, including for flammable liquids and aerosols. Manufacturers and importers have phased compliance dates for reclassifying substances and mixtures, and employers must update labels and training afterward. Re-verify the exact dates against the current Federal Register notice and OSHA guidance before publishing, then re-pull the SDS facts (especially Section 2 and 9) for each product in your JSAs.
Paper vs. digital: linking the JSA to the live SDS and chemical inventory
A paper JSA goes stale the day an SDS changes. Linking each JSA to the live SDS and chemical inventory means the flash point, PPE, and incompatibility data update automatically, and a revision flags the JSAs that depend on it. Tools such as Guardians together with CloudSDS SDS Management are built for that connection, but the principle applies to any system: one source of truth for the chemical data.
Download the drum transfer JSA template.
Get the editable drum transfer JSA (PDF and XLSX) with the ten steps, risk columns, and emergency rows pre-built. Replace the sample solvent with your own product, drop in your SDS facts, and align the risk matrix with your pillar standard. Pair it with the "SDS in a JSA" and "Hot Work JSA" worked examples for a complete set.
Frequently asked questions
1. Do plastic drums and containers need to be grounded?
Plastic cannot conduct a charge away, so it cannot be grounded in the usual sense. Bond any metal parts (nozzle, funnel, pump) to the drum and ground the assembly. For flammable liquids, use approved metal safety cans where possible and follow SDS Section 7 and NFPA 30 limits on plastic container sizes.
2. Can you pour directly from a 55-gallon drum?
No, not as a routine practice. Tipping and pouring a heavy drum creates strain, splash, and static hazards. Use a pump or a self-closing faucet with a vent, with the drum upright and bonded.
3. What type of pump should you use for flammable liquids?
Use a hand pump or drum pump rated and compatible for the liquid. If electric, it must be approved for the hazardous (classified) location under 1910.307. Avoid pressurizing the drum with air.
4. Do secondary containers need labels?
Yes, with one narrow exception. Portable containers need workplace labels under 1910.1200(f)(6), unless the contents are for the immediate use of the employee who made the transfer under (f)(8). If the container is left unattended or passed to someone else, label it.
5. What PPE is needed to transfer chemicals?
It depends on the chemical. Take it from SDS Section 8 and your hazard assessment. Commonly that means chemical splash goggles, gloves of the specified material, protective clothing and safety footwear, plus respiratory protection if the exposure assessment requires it.
6. What should you do with a bulging drum?
Stop work, do not open or move it, eliminate ignition sources, clear the area, and notify your supervisor and EHS. Follow your site emergency plan for a pressurized or leaking container.
7. Is drum transfer covered by HAZWOPER?
Routine transfer is not, but an uncontrolled release can trigger HAZWOPER (1910.120) if it exceeds what the trained workers can safely handle. The JSA should say where that line sits.
References
https://www.osha.gov/laws-regs/regulations/standardnumber/1910/1910.106
https://www.osha.gov/laws-regs/regulations/standardnumber/1910/1910.151
https://www.osha.gov/laws-regs/regulations/standardnumber/1910/1910.151
https://www.osha.gov/laws-regs/regulations/standardnumber/1910/1910.120
https://unblock.federalregister.gov/
https://unblock.federalregister.gov/
https://www.nfpa.org/codes-and-standards/nfpa-77-standard-development/77
https://www.nfpa.org/codes-and-standards/nfpa-30-standard-development/30

Simplify Your SDS Management
CloudSDS gives your team instant access to 23M+ safety data sheets with AI-powered search, automated updates, and full OSHA/GHS compliance — all from one platform.
Leave A Comment