Imagine a worker in your plant grabbing a new solvent without knowing its risks. A small spill turns into a big problem. That’s why Safety Data Sheets (SDS) matter so much. These documents give key details on chemical hazards, safe handling, and emergency steps. Under OSHA’s Hazard Communication Standard (HCS) and the Globally Harmonized System (GHS), you must have up-to-date SDS for every chemical your team uses.
Fines can hit six figures for missing SDS. Worse still, outdated information can lead to injuries or worse. This guide helps you build a solid SDS collection checklist for new chemicals. You’ll get a step-by-step plan to get, check, and manage these sheets. By the end, you’ll turn compliance into a simple habit that keeps your workplace safe.
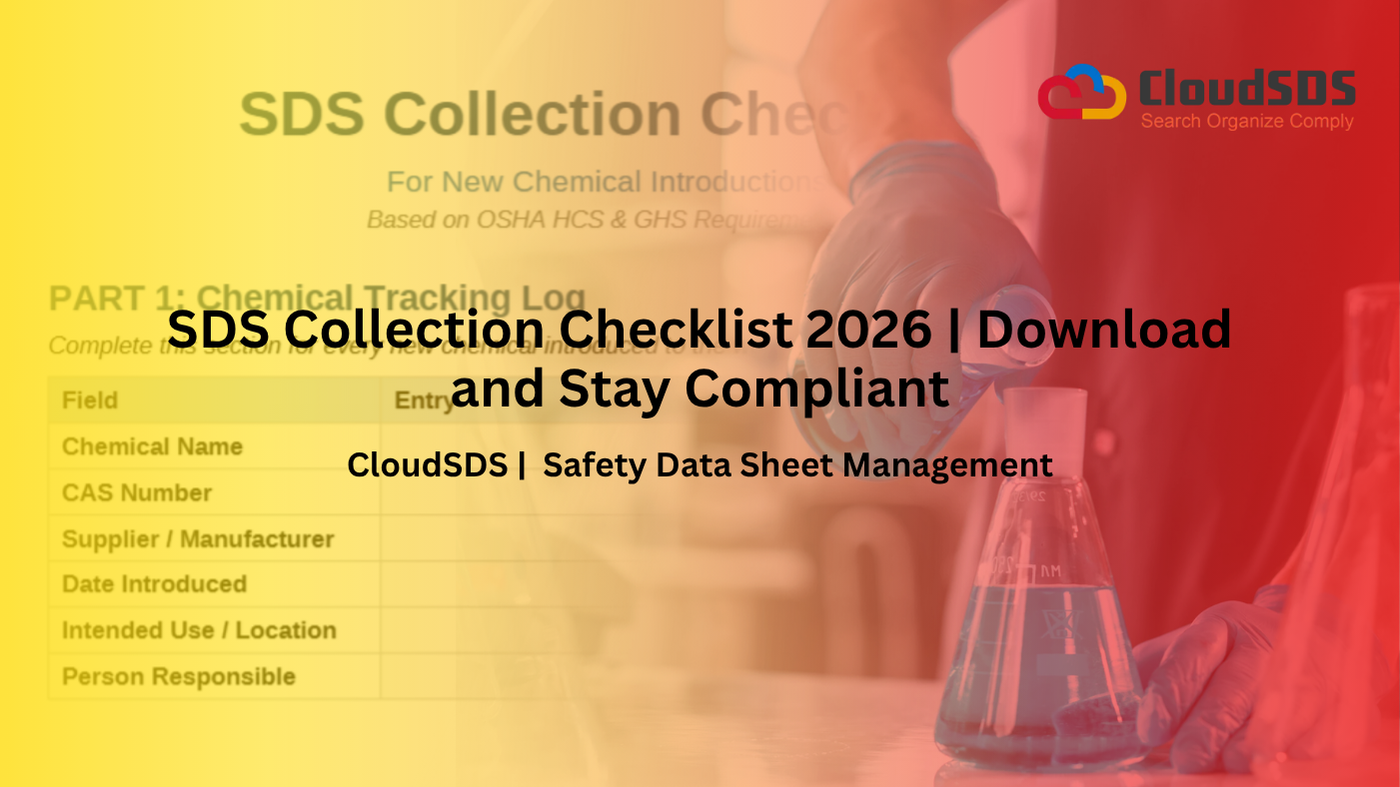
Pre-Acquisition Due Diligence: Identifying Your Chemical Inventory Needs
Before you bring in any new chemical, take time to plan. This step stops surprises later. It sets the base for your full SDS (Safety Data Sheet) collection checklist, which is a comprehensive list of documents that provide information about the properties and handling of chemicals.
Defining “New Chemical” Under Regulatory Scopes
A new chemical isn’t just a fresh bottle. It could mean a switch in suppliers or a tweak in the mix. Say you import a cleaner from overseas. That’s new under rules like GHS (Globally Harmonized System), which standardizes the classification and labeling of chemicals. Even research samples count if your team handles them.
Process chemicals for daily work differ from lab trials. The first needs a full SDS right away. Trials might wait, but don’t skip them. Know these facts to avoid gaps in your safety net.
Supplier Identification and Primary Contact Protocols
Get the Safety Data Sheet (SDS) from the manufacturer or their trusted seller. The SDS contains important information about the hazards of a chemical product and how to handle it safely. They hold the duty to provide it, as OSHA states. Don’t rely on old files from past buyers.
Use supplier websites for quick downloads. Or email their safety team for a copy. Build a contact list now. That way, requests go smoothly every time. For example, if you order from a big firm like Dow, check their portal first. It saves time and ensures you get the right version.
Establishing Initial GHS vs. Legacy Document Standards
Old SDS might have fewer sections. New ones follow GHS with 16 parts. Stick to the fresh format for all introductions. In places like Canada, WHMIS adds local twists. But the core stays the same. Check your country’s rules early. This switch happened years ago, yet some sites lag. Please update promptly to ensure compliance with standards and reduce risks.
The Core SDS Acquisition Checklist: Verification and Retrieval
Once you have obtained the SDS, proceed with the following steps; don’t stop there. Verify that it fits your needs. This core part of the SDS (Safety Data Sheet) collection checklist makes sure nothing slips through.
1. Mandatory 16-Section Verification
Every SDS needs all 16 sections. Or at least the key ones filled out right. Section 2 covers hazards like fire risks or health threats. It uses clear labels and pictograms.
Section 8 lists exposure limits and gear like gloves or masks. Section 14 details shipping rules, vital for transport teams. Miss these, and you face real dangers.
OSHA says SDS must be ready before anyone touches the chemical. No delays. Print or store it where workers can find it fast.
Check off these must-haves:
- Identification of the substance.
- Hazard breakdown.
- First aid steps.
- Firefighting advice.
- Handling and storage tips.
- Accident response.
- Toxicity data.
- Protection controls.
- Stability facts.
- Reaction risks.
- Cleanup methods.
- Eco effects.
- Disposal notes.
- Transport info.
- Regulations.
- Other details.
If any information is lacking, ask the supplier for a complete set.
2. Confirming SDS Currency and Revision Dates
Look for the date at the end or in section 16. It shows the last update. Laws state that the newest version should always be used. Suppliers revise SDS when formulas change or new studies come out. Old ones might miss key warnings. Track these developments to stay current.
Set a 90-day check for new SDS. Ping the supplier if an update drops soon after. It catches changes quickly. For instance, a paint chemical’s SDS was updated last year for better skin protection info. Ignoring that could harm your team.
3. Authenticity Check: Language and Format Integrity
Fake SDS pop up sometimes. Check for GHS symbols like flame icons. They must match official styles. The sheet needs to be in English or your workers’ main language. Translations must be accurate. No room for mix-ups in emergencies. If it’s from abroad, verify the source. A quick call to the supplier confirms it’s real. This step guards against errors.
Internal Documentation and Hazard Communication Integration
You have the SDS. Now blend it into your daily ops. This ties the SDS collection checklist to real safety practices.
1. Integrating SDS into the Centralized Chemical Inventory System
- Store SDS in one easy spot. Go digital for speed. Tag files by room, hazard type, and review date.
- Make sure all shifters access it. Ensure that there are no locked folders or slow servers. In a fire, seconds count.
- A factory once lost time in a spill because SDS hid behind logins. Workers guessed on cleanup. Don’t let that happen.
- Use tools like shared drives or apps. Add search by chemical name. It keeps things simple.
2. Hazard Mapping and Training Module Association
Link SDS to your training plans. Section 2 hazards shape what you teach. Section 8 picks PPE like goggles or suits. Also, build a map of risks per area. It shows where extra care fits. Tie this to yearly drills.
For example, if a chemical causes eye irritation, train on rinse stations. Your site’s PPE list should match SDS data.
Create a cross-reference log:
- SDS Section 8 Item: [Exposure limit]
- Site PPE Match: [Gloves type, etc.]
- Training Link: [Session number]
This connects dots for better safety.
3. Creating the “Local Addendum” (if necessary)
Sometimes the SDS needs your tweaks. Add your emergency phone numbers. Or site-specific waste rules. Do this only for local info. Never change the maker’s facts. It keeps the original intact. If disposal differs from generic advice, note it clearly. This addendum boosts usability without breaking rules.
Post-Collection Management: Audit Readiness and Lifecycle Tracking
Collection ends, but work goes on. Manage SDS over time. This prepares you for checks and changes.
✅️ Establishing the SDS Review Cycle for Existing Chemicals
SDS isn’t set in stone. Review them yearly, or every two years for tough ones. High-hazard items need more frequent checks. Scan for supplier updates. Or watch for formula shifts. This cycle keeps your files fresh. Set calendar reminders. Please assign a safety lead to manage it. Small effort pays off big.
✅️ Managing Chemical Substitution and Disposal Documentation
Swap out an old chemical? Get the new SDS first. Archive the old one with use dates. For disposal, note the steps from section 13. Keep records of how you ditched it. It proves compliance. When a cleaner gets replaced, file both SDS (Safety Data Sheets) side by side. This tracks the switch clearly. It tracks the switch clearly.
✅️ Preparing for Regulatory Audits: The Accessibility Test
Auditors want Safety Data Sheets (SDS) at your fingertips. Test by picking a random chemical in storage. Can you grab its sheet in under two minutes? Store by location labels. Using labels such as “Area C Shelf 3” and digital backups can also be beneficial. OSHA (Occupational Safety and Health Administration) fines for HCS (Hazard Communication Standard) slip-ups average $15,000 per violation. SDS issues top the list. Quick access avoids hitting.
Conclusion: Transforming SDS Collection from Burden to Business Imperative
Your SDS collection checklist covers it all: pre-checks, getting the docs, blending them in, and ongoing care. Verification ensures accuracy. Integration ties to training. Maintenance keeps risks low.
This isn’t just paperwork. It builds a safety mindset. Teams work better when they know the facts.
Key takeaways:
- Start with a tracking log for every new chemical to spot needs early.
- Verify all 16 sections and dates before use— no shortcuts.
- Review and update SDS yearly to stay audit-ready and safe.
Put this plan to work today. Your workplace will thank you. Safer ops mean fewer worries and stronger results.
Simplify Your SDS Management
CloudSDS gives your team instant access to 23M+ safety data sheets with AI-powered search, automated updates, and full OSHA/GHS compliance — all from one platform.
Leave A Comment